Tutorial, Part 1
Introduction
Welcome to the modeling framework tutorial! This tutorial assumes the audience:
Has no prior Python knowledge or experience, but some basic programming experience in another language (like Visual Basic for Applications (VBA)).
Has some actuarial modeling knowledge.
Runs a Windows 10 desktop environment.
Has administrator privileges on their device, and can install and configure software.
This tutorial is split into 3 parts:
A brief, practical introduction to setting up a working environment and generating a set of model results.
A conceptual overview of the modeling framework.
A deeper dive into how the modeling framework is used to create a sample annuity model.
Note
The modeling framework relies on Object-Oriented Programming (OOP) concepts and mechanics. We’ll introduce these as we go.
Installation and Setup
This modeling framework was developed using (and works best with) PyCharm Community Edition. To set up the model:
Download and Install Python
Download Python 3.11.X from here:
https://www.python.org/ftp/python/3.11.3/python-3.11.3-amd64.exe
Install Python by double-clicking on the executable:

Check Use admin privileges when install py.exe.
Check Add python.exe to PATH.
Click Install Now when ready.
Once the installer completes, click Disable path length limit:

Download and Install PyCharm Community Edition
Download PyCharm Community Edition from here:
https://www.jetbrains.com/pycharm/download/download-thanks.html?platform=windows&code=PCC
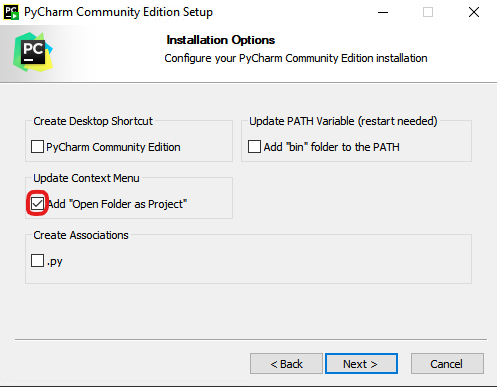
Install PyCharm by double-clicking on the executable. Under the Installation Options, select Add “Open Folder as Project”:
Download and Unzip the Project from GitHub
Download the project from here:
https://github.com/chingdaotze/actuarial-model/archive/refs/heads/main.zip
Unzip the project by right-clicking and selecting Extract All…:

Open the Project in PyCharm
Navigate to the extraction location and right-click. Then click Open Folder as PyCharm Community Edition Project:

If prompted, select Trust Project:
Set up a Virtual Environment
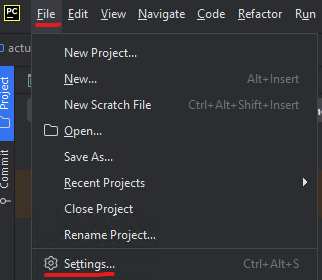
Go to File > Settings…
Navigate to Project: * > Python Interpreter > Add Interpreter:

And click on Add Local Interpreter.
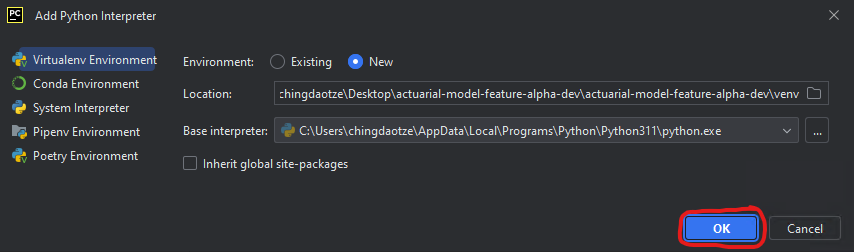
Then click OK.
Click OK again to save your changes and exit the Settings dialog.

Install the Required Packages
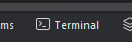
Near the bottom of the window, click on Terminal to open up a terminal session:
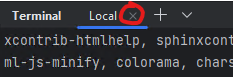
In the terminal session, type:
pip install -r "install\requirements.txt"

Then hit
ENTERto execute the command.Once the command completes, you can quit the terminal session:
Running the Model
To run the model:
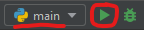
In the upper right-hand corner, ensure that the run configuration is set to main. Then click the “Play” button to run the model:
The model should start running and console output should appear in PyCharm’s Run window:

Note
Console output is
also piped to a log file as plain text. The location of the log file can be found in the console output:
Model output can be found in the modeling framework’s output directory:

For the sample annuity model, the output directory is organized like so:
\ Model point ID
    \ Economic scenario number
        Model output *.csv files